Sections of the site
Editor's Choice:
- Conspiracy on the husband: to return, to the desire of the wife, so that he misses and obeys
- Alignment for unclear situations
- Compatibility of Aries and Gemini in love, marriage and sex Aries and Gemini how to be
- Why do you dream about a shark - interpretation of sleep
- The easiest way to bewitch a guy How to bewitch someone to like without consequences
- What is the compatibility of Scorpio and Pisces in a love relationship?
- Pisces and Scorpio compatibility of signs in love relationships, marriage and friendship
- Norm of meat consumption per day for a person
- Cooking corn porridge according to the best recipes
- What is the name for the irresistible desire to bite a loved one or squeeze an animal?
Advertising
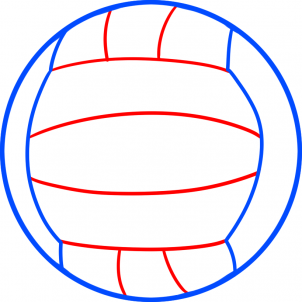
| Drawings on the theme of a volleyball. How to draw a soccer ball. How to draw a volleyball: Wilson from the movie Cast Away. |
|
How to draw a ball? In this lesson we will look at three types of balls, soccer, basketball and volleyball.
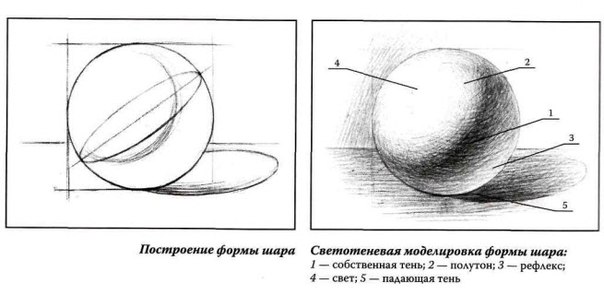
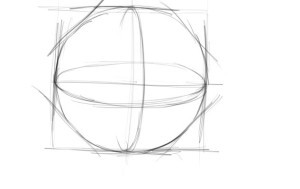
Essentially, the ball is an ordinary circle with shadows on which some kind of relief is depicted. Of course, a soccer ball is very different from a basketball, a basketball has a different weight, a different material, but they are drawn almost the same. In this lesson we will not deal with the chiaroscuro of the ball, but to draw the ball you need to use it. It will give the ball a more realistic look. You can take a look at the picture below to refresh your knowledge of ball chiaroscuro, and if you don’t know anything about ball chiaroscuro, then we recommend you read here.
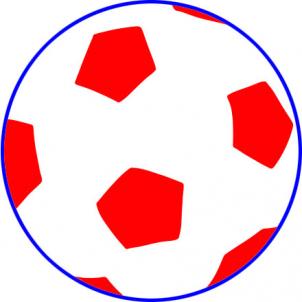
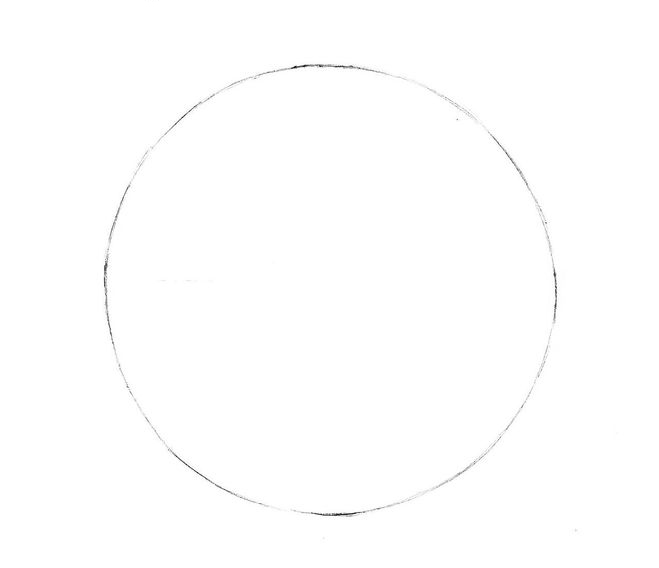
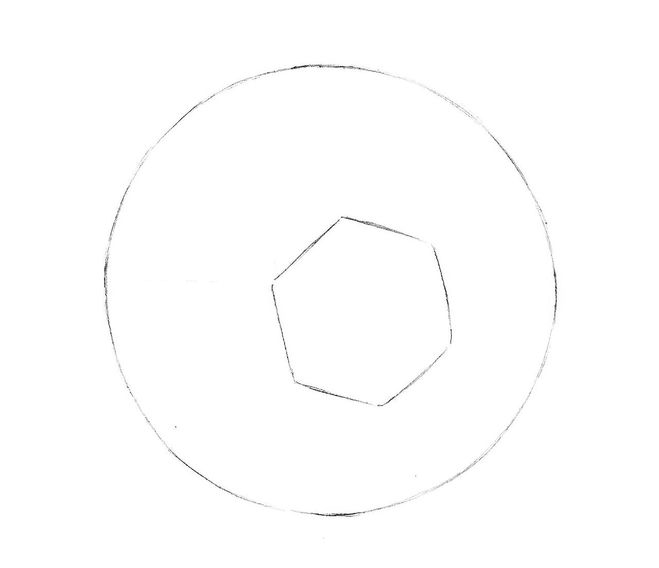
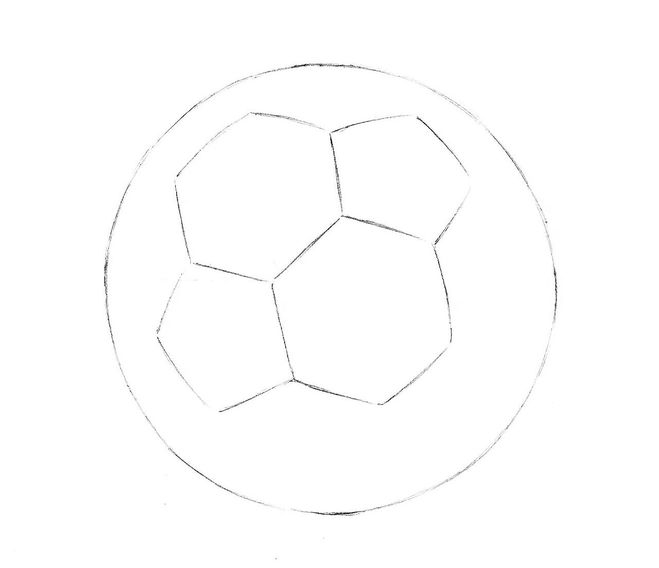
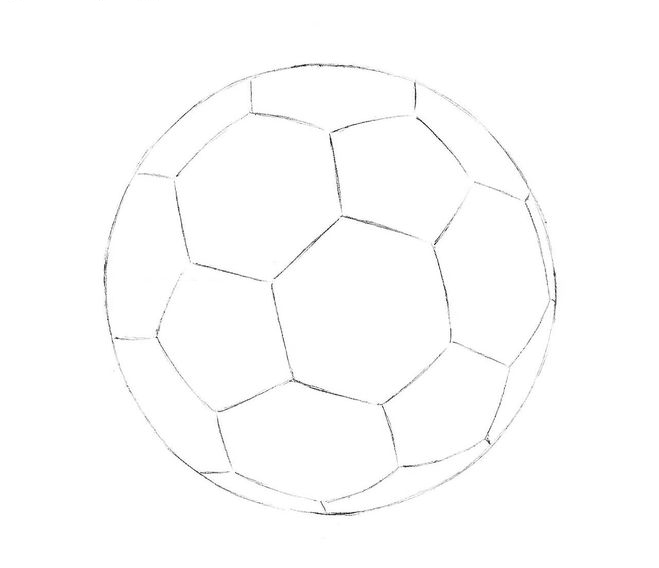
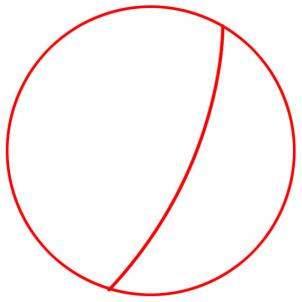
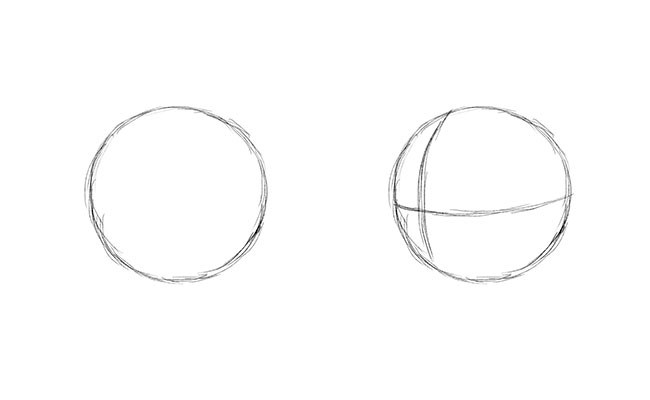
So let's start with a soccer ball. How to draw a soccer ball
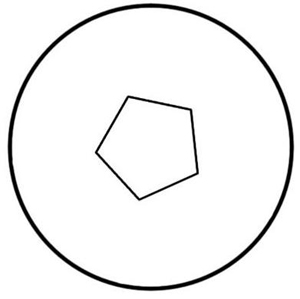
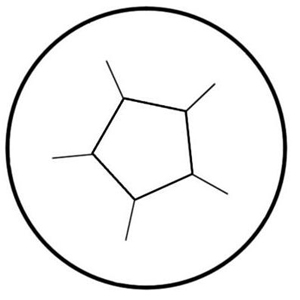
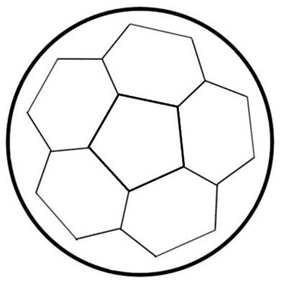
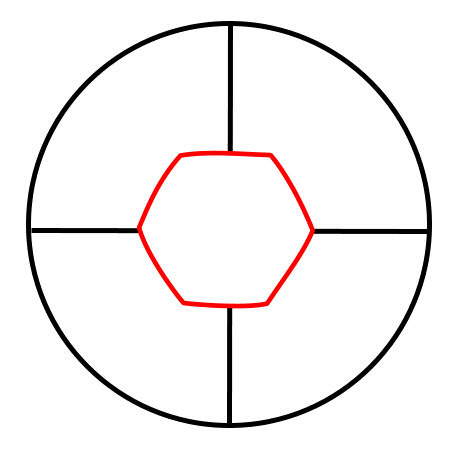
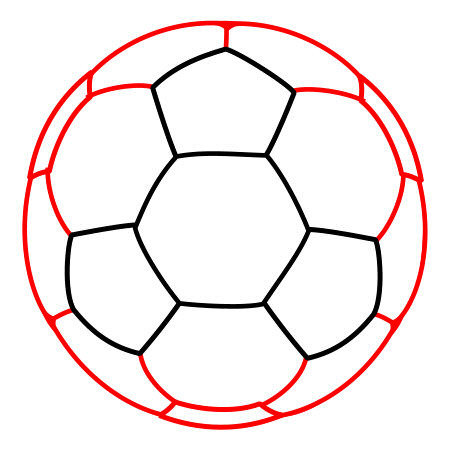
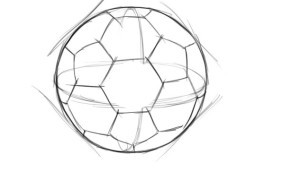
Stage 1 Stage 2 Since a ball is a ball, and a ball is round, we must depict the volume on these polygons. It is very clearly visible that one of the sides of the right polygon is round, this gives it a rounded shape. Stage 3 Stage 4 Another option for drawing a soccer ball
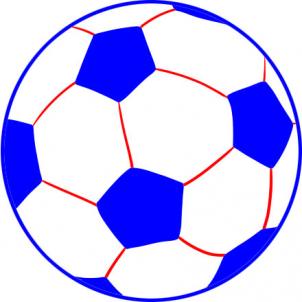
Since the polygons in a soccer ball are the hardest part, we want to go into that a little bit. Let's look at another option for drawing a soccer ball, but in a slightly different way. Stage 1 Stage 2 Stage 3 We draw lines from each corner. Stage 4 Stage 5 Stage 6 Stage 7 If you know how to apply chiaroscuro, you can apply it, and we will get to it very soon. The third option for drawing a soccer ball
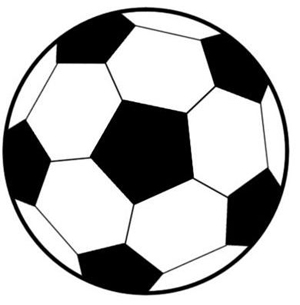
There is no point in describing this ball in particular; this example is just another option for drawing a net. Just look and choose the grid drawing option you like and use it. Stage 1 Stage 2 Stage 3 Stage 4 Stage 5 Stage 6 Stage 7 Another small and fun option for drawing a soccer ball. Learn to draw a soccer ball with shadow
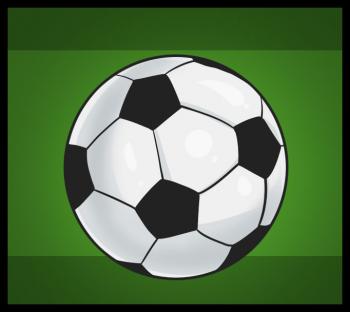
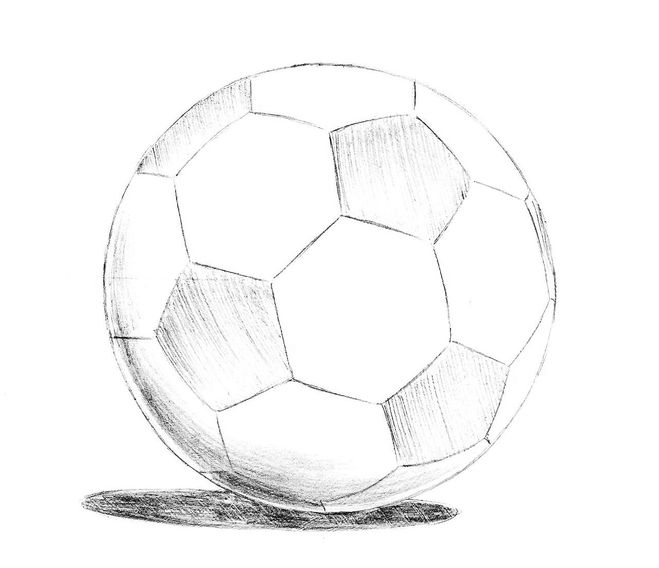
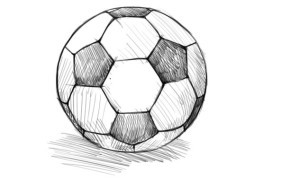
Stage 1 Stage 2 Stage 3 Stage 4 Stage 5 Shade the polygons, which should be black. In the upper part of the polygon, the strokes should be darker than in the lower part, this will create an imitation of glare and add volume to our soccer ball. We do not touch the white polygons, they will remain white. After shading the black squares, draw your own shadow on the ball in the lower left part. In our example, the light hits the ball from the top right side. This is why the shadow is on the lower left side of the ball. Your own shadow is drawn in the form of a month, which smoothly flows from dark to light. Well, the last step is to draw the shadow of the ball on the ground. Such a shadow is drawn much easier than the ball's own shadow. Just draw a narrow oval under the ball and that's it. If you have difficulty with shade, be sure to read our article on chiaroscuro and try taking a ball with a flashlight. By rotating the flashlight around the ball, directing the light at different angles, you will definitely understand the whole meaning of chiaroscuro and how to draw it in the case of the ball. Another example with chiaroscuro
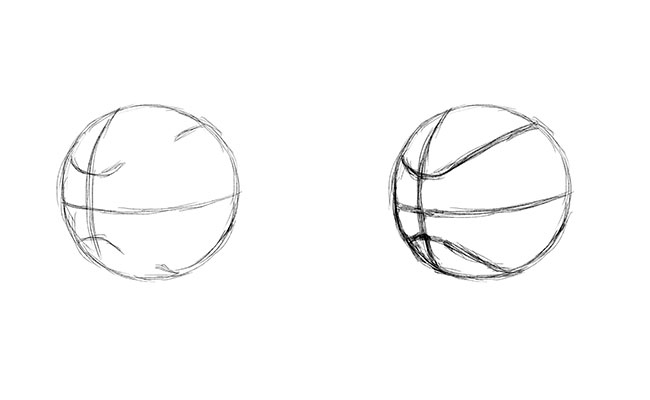
So let's move on to the last example of drawing a soccer ball. It also has chiaroscuro, but the way of drawing the ball itself is a little unusual. Stage 1 Stage 2 Stage 3 Stage 4 Shading right side the ball is darker because less light falls on it than on the left, and the lower part needs to be made completely dark because almost no light falls on it at all. Draw a shadow under the ball. We're done with the soccer balls and now we're moving on to drawing the basketballs. How to draw a basketballIt's time to learn how to draw a basketball. It is drawn in exactly the same way as a soccer ball, just like a regular ball. Therefore, we will not go into detail about how to draw it. Stage 1 Stage 2 Essentially, our basketball is ready, but we will still paint and add light and shade to it in the next step. Stage 3 In our example, there is cartoon chiaroscuro, so we paint the ball orange. We paint the space between the lines with a darker tone, but not to the edges; especially a lot of free space should be left in the upper left part. Since the light falls on our ball from the top right, we must paint the highlights with a lighter color. Another option for drawing a basketball step by stepLet's take a look again step by step drawing basketball ball, but with a slightly different type of chiaroscuro. Stage 1 Stage 2 Stage 3 Now we press harder on the pencil and paint over the entire surface of the ball, making the highlight area lighter than the rest of the ball’s surface. Make the left edge of the ball as dark as possible, since very little light falls on it. Our basketball drawing is ready :) How to draw a volleyball: Wilson from the movie Cast Away
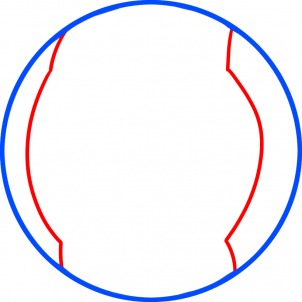
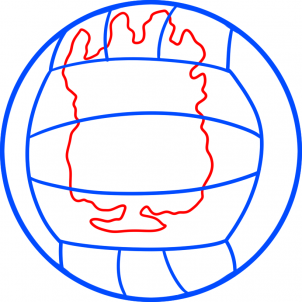
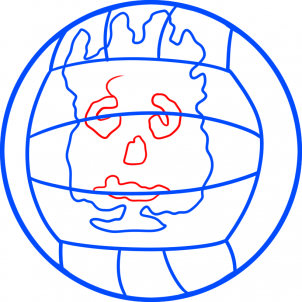
Yes, yes, if you watched the movie “Cast Away,” then you probably recognized this volleyball :) A volleyball is drawn the same way as a football, basketball, or any other ball, so let’s draw a face on it. Stage 1 Stage 2 Stage 3 All that remains is to paint the ball and it will be ready, but we have an unusual ball, so let's move on to the next stage! Stage 4
Draw the eyes, nose and mouth.
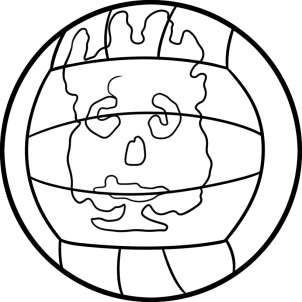
Stage 5
All that remains is to paint it with any colors and apply chiaroscuro in your favorite way. Bottom lineWe hope that you figured out how to draw a football, basketball and volleyball step by step with a pencil. As you noticed, they are all drawn almost the same way, so using the same methods you can draw absolutely any ball with any designs on it. |


Popular:

New
- Alignment for unclear situations
- Compatibility of Aries and Gemini in love, marriage and sex Aries and Gemini how to be
- Why do you dream about a shark - interpretation of sleep
- The easiest way to bewitch a guy How to bewitch someone to like without consequences
- What is the compatibility of Scorpio and Pisces in a love relationship?
- Pisces and Scorpio compatibility of signs in love relationships, marriage and friendship
- Norm of meat consumption per day for a person
- Cooking corn porridge according to the best recipes
- What is the name for the irresistible desire to bite a loved one or squeeze an animal?
- What are the benefits and harms of coffee without sugar?


