Sections of the site
Editor's Choice:
- Salads with red beets
- How to prepare raspberries for the winter: we share the best recipes for jams, compotes and freezing
- Russian breakfast: millet porridge with milk and pumpkin
- A simple recipe for shanezhki with step-by-step photos How to bake homemade shanezhki from cottage cheese
- Beet salads: delicious recipes with photos
- How to cook cutlets with eggs inside
- Cake shou “Saint-Tropez French cake shou recipe
- How and for how long to cook squid so that it is not tough and tasteless
- Dietary potato casserole with minced meat for children
- Simoron rituals for buying an apartment
Advertising
| How to make a piggy bank for paper money with your own hands. We make a beautiful piggy bank from an ordinary glass coffee jar. MK from Taniko |
|
Many people quite often accumulate small change, which, due to its large quantity and the weight becomes inconvenient to carry in a wallet, purse or pocket. Of course, the money is small, but if you collect it, you will eventually be able to save up a tidy sum and use it to buy something nice for yourself or your loved ones. In order to collect change you need money box. True modern models piggy banks They are not cheap, and then they will have to be broken. Isn't it better to do piggy bank independently, and such that it does not need to be broken?
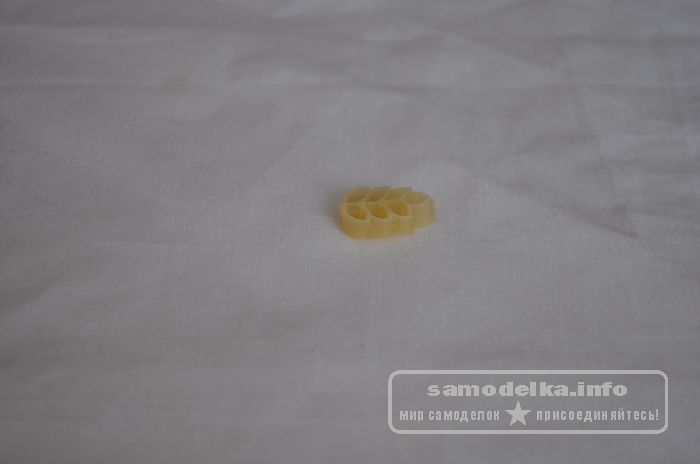
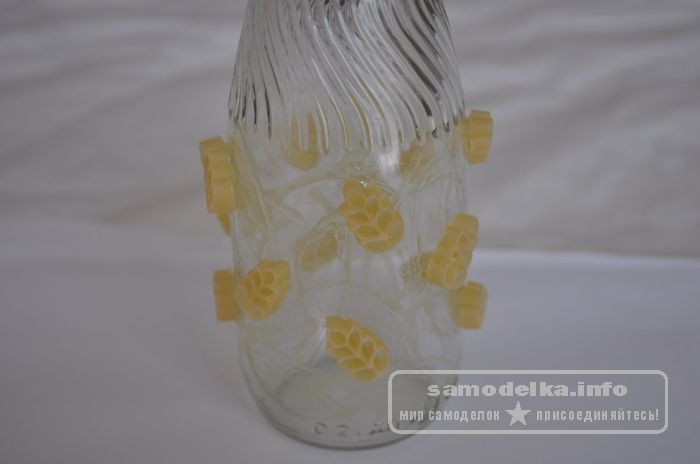
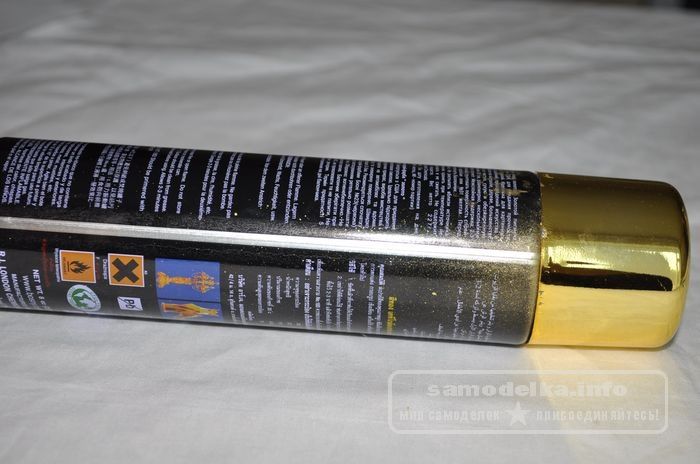
1. In order to make your own elegant piggy bank, you can use a regular small jar with a screw-on lid as a base. This could be a jar of pickled cucumbers or baby food. You will also need glue, several beautifully shaped pasta for decoration and paint. This can be spray paint or regular nail polish.
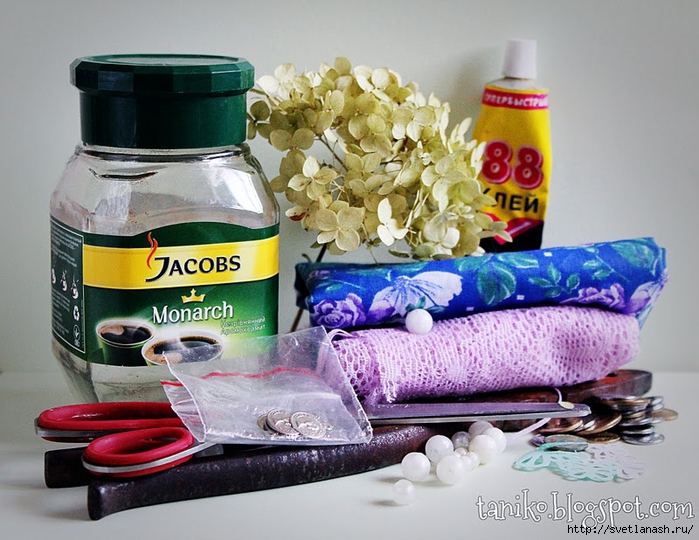
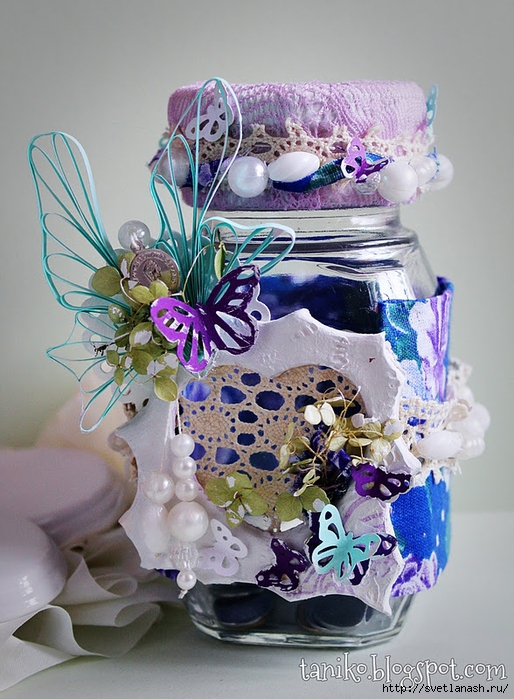
12. It turns out to be such an unusual, but very beautiful piggy bank. It can be placed anywhere at home: in the kitchen, on the desktop, in the hallway, or at work in the office to collect excess change there. Once it is full, there is no need to break it. All you need to do is carefully open the lid, take out your wealth and start accumulating new ones. For fun, you can only collect 10-ruble coins in it. Then, even in such a small piggy bank, quite a decent amount will be collected, which can be spent on something pleasant. Many people have accumulated a lot of these cans, but it’s a shame to throw them away. This is the way to “recycle” this stuff. For work we will need: a glass coffee jar, instant glue, scissors, pliers, a stationery knife, white acrylic paint, needles, threads. For decoration you need: chintz or any other fabric, lace, beads, dried flowers (hydrangea), scrap paper, frame, decorative pendant coins.
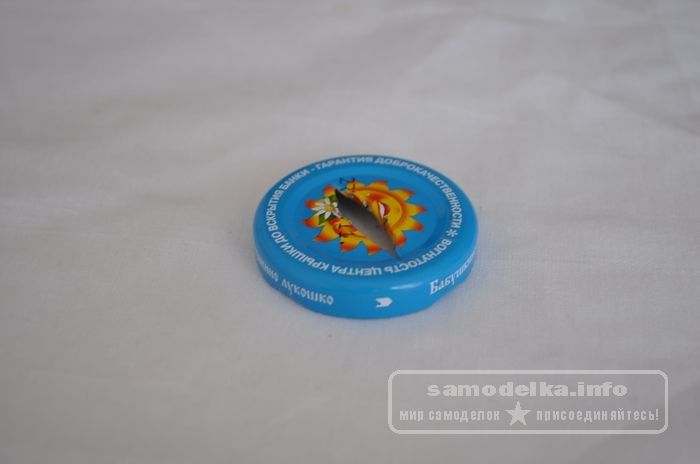
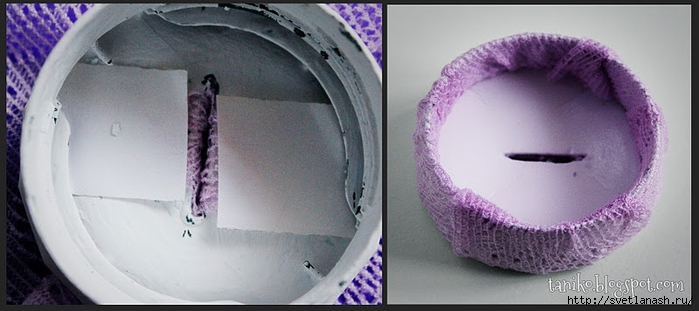
1. While the jar is sour in water (to easily remove the wrappers), take the lid and remove white circle from the bottom, but don’t throw it away, we will still need it a lot! 2. Great care is needed at this stage! In order to throw coins in, you need a hole in the lid, which we will now make. We take pliers and clamp the largest coin that you have in use (in Ukraine this is 5 kopecks). Turn on the stove and hold the coin over the heat for a little over a minute, it should start to turn red. Then carefully lower the coin and form a hole in the lid. Let me warn you right away: tweezers or anything else is not suitable for this, because... You can burn your hands, but in general the hole is made quite easily and without much effort.
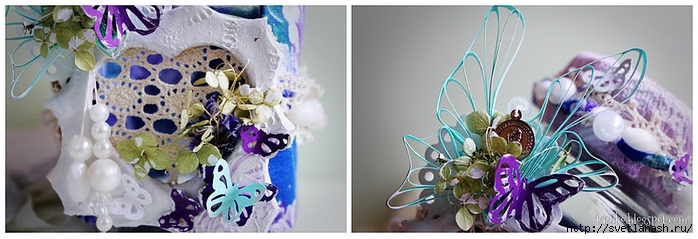
3. Paint the lid white on both sides acrylic paint. We cut out the lace with which we will decorate the lid (calculate the size so that it is enough to wrap it inside) and make an incision in the place where the hole is near the lid. In order for us to get a neat hole, we need to insert the lace from the front side into the hole on the wrong side and secure it with glue (I used 2 more strips of white paper for secure gluing). Next, we beautifully bend the remaining lace inward and secure it with a white circle from the bottom, in which we then also cut a hole with a stationery knife. 5. Decorate the edge of the lid as your imagination desires. I used lace, beads, hole punching butterflies and a thin strip of fabric. The lid with the hole is ready!
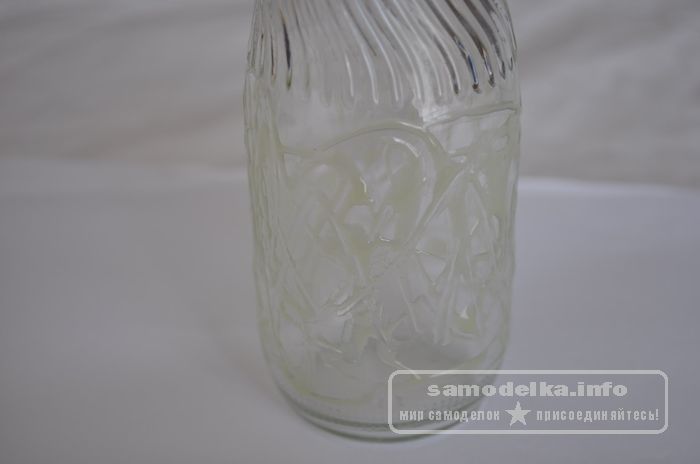
I cut a piece of calico fabric the width of the jar (but slightly less than the length, so that there would be space in front not covered with fabric, because according to my idea, there should be a frame made of cyroplast with a lace heart in front), folded it and processed the edges. I sewed decor (lace and beads) onto the fabric and instantly glued it to the jar.
Next, I took that same frame and also glued it to the jar, decorating the edges with different decor: hole-punching butterflies, decorations made from strips of watercolor paper, beads, dried flowers, decorative pendant coins.
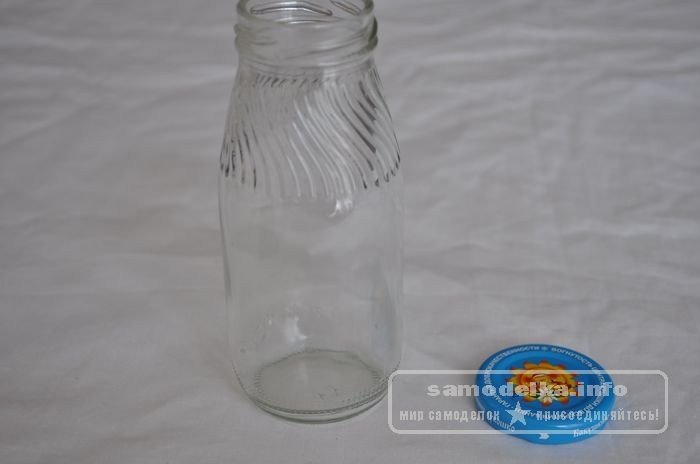
The main thing in a piggy bank is the internal volume, design and level of difficulty of getting money back. When deciding how to make a piggy bank with your own hands, it is advisable to immediately think through these questions. The easiest way to make a piggy bank is from a glass jar, a plastic ball or a plastic figurine. All of them, if necessary, can be decorated beyond recognition. For example, you can completely cover their surface with self-hardening modeling compounds, giving the product any shape. Selecting a "bank"The choice of base for a piggy bank is influenced by two conditions - what will be stored in it - bills or coins and how it will be decorated. Obviously, wide containers are better suited for banknotes, and coins can also be poured into shaped narrow bottle jars.
Features of the “contribution”The receiving hole is usually made in the lid. They will tell you how to make a piggy bank with your own hands from a jar photo different options piggy bank If the piggy bank provides for a deposit “with return during storage,” it is better to choose the option with a screw-on lid. If a long-term deposit is provided and funds will not be withdrawn, you can completely close the lid. It is easier to cut a hole in a plastic lid than in a tin one, but the plastic is not as beautiful. If you are planning a piggy bank for banknotes, you need a long thin slot or a round hole into which the bill is inserted, rolled up into a tube. How to make a hole in plasticA hole in a plastic lid or any plastic product is cut with a breadboard knife (preferably on a block to protect the table) or melted with a hot knife.
Tin lid: cut a hole
Decorating the piggy bankpaintingGlass can be painted with stained glass paints on the outside or inside. Place a printout of the design inside the jar and stick it with tape so it doesn’t slip off. On the outside of the jar, repeat the pattern using purchased material - “volumetric outline” (it is sold in stores for artists). Wait until it dries. Fill the contour cells with stained glass varnishes. Decorating with self-hardening modeling compound"Potty"
"Stone"
Actually, you can create any sculpture using this type of molding. You will get an excellent piggy bank if you decorate a glass jar using the decoupage technique. Another way is to decorate the jar with sequins, glass beads using special glue for glass. |


| Read: |
|---|
Popular:

New
- How to prepare raspberries for the winter: we share the best recipes for jams, compotes and freezing
- Russian breakfast: millet porridge with milk and pumpkin
- A simple recipe for shanezhki with step-by-step photos How to bake homemade shanezhki from cottage cheese
- Beet salads: delicious recipes with photos
- How to cook cutlets with eggs inside
- Cake shou “Saint-Tropez French cake shou recipe
- How and for how long to cook squid so that it is not tough and tasteless
- Dietary potato casserole with minced meat for children
- Simoron rituals for buying an apartment
- What does tiramisu cake look like?


